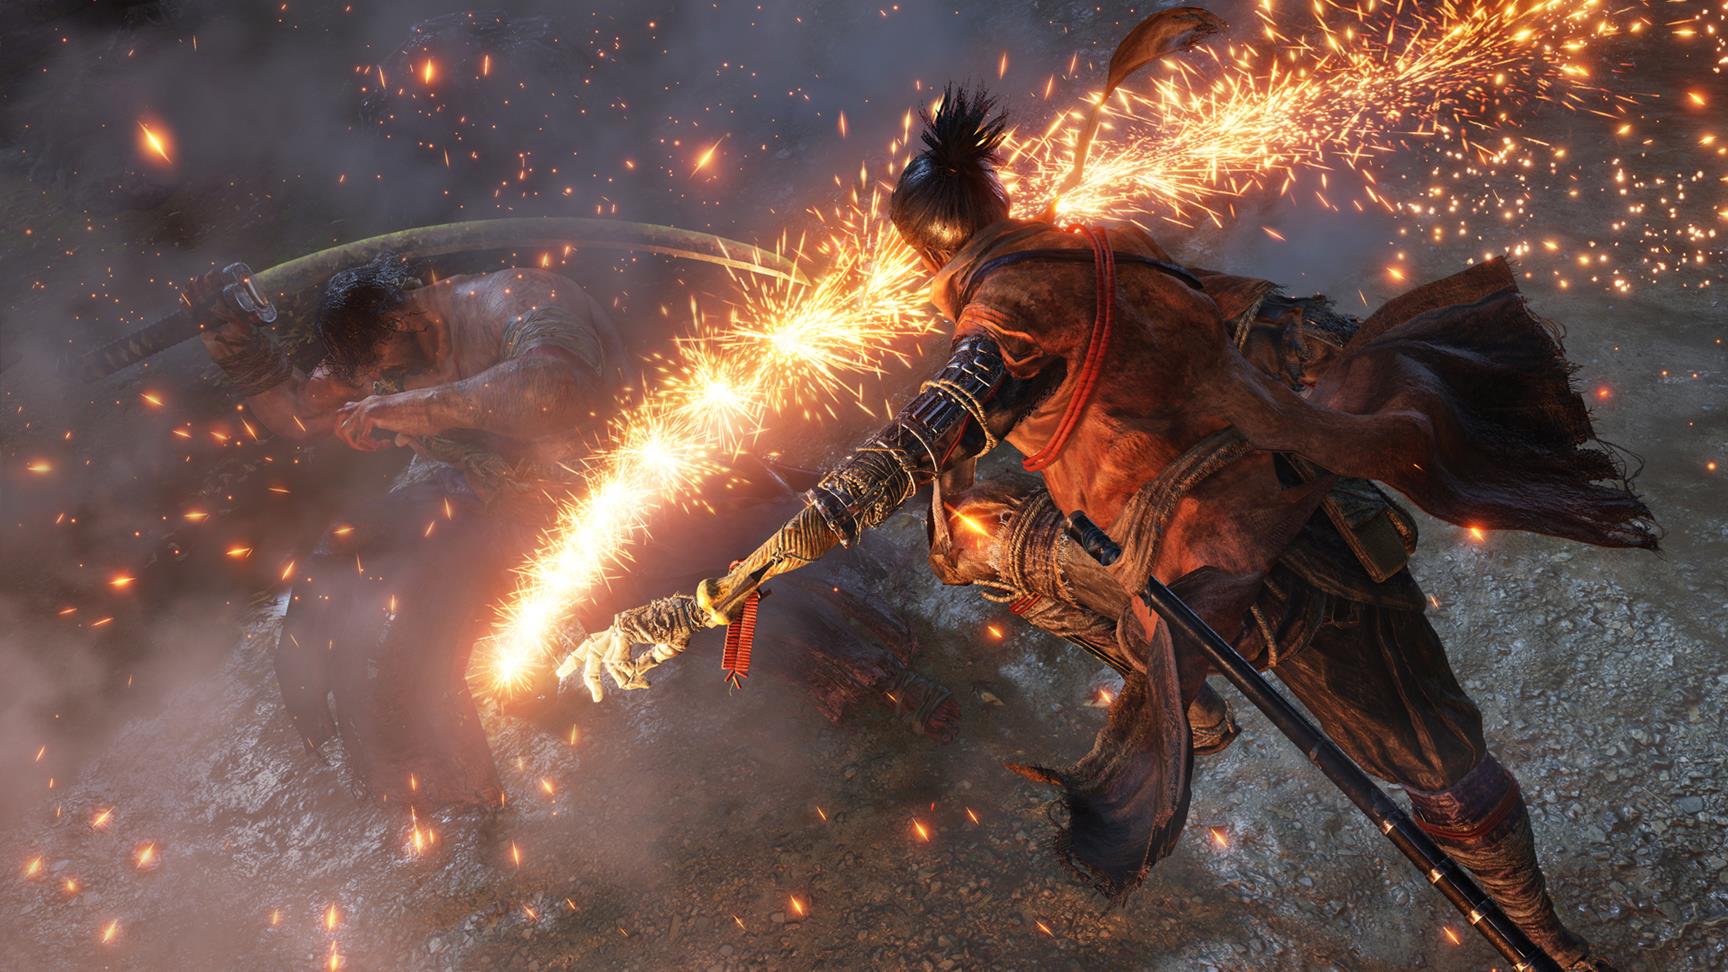
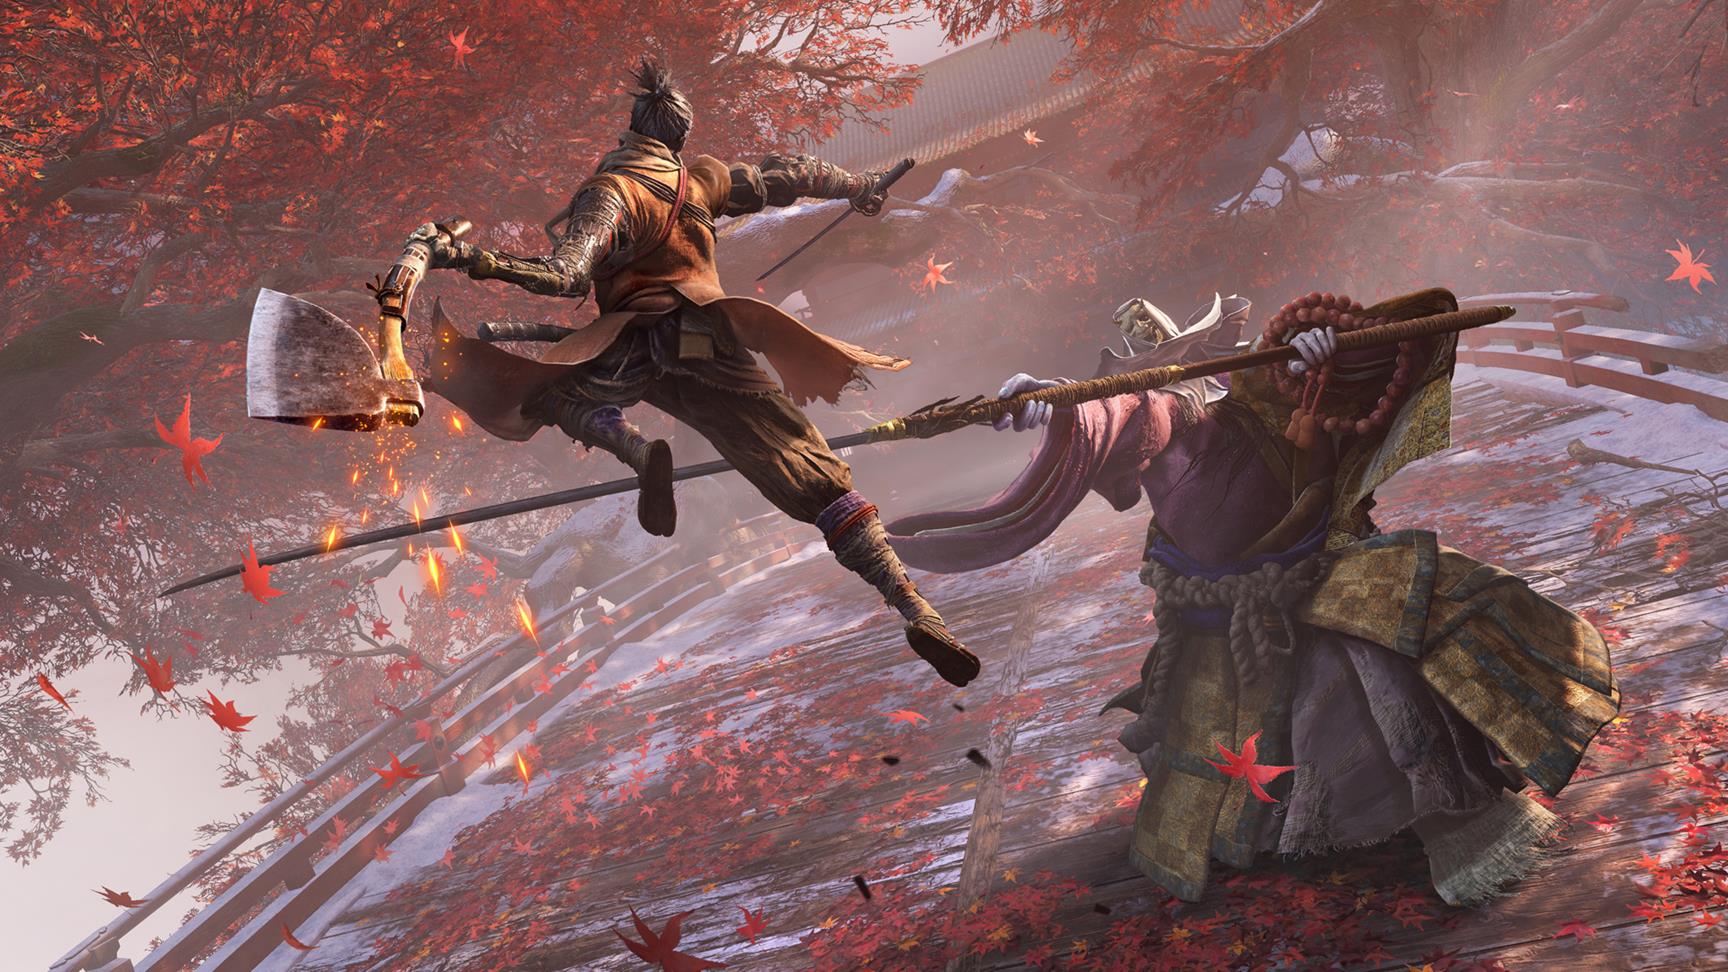
As with many of From Software’s other enigmatic games, Sekiro: Shadows Die Twice offers several different endings that reflect the decisions that you make during its lengthy adventure. While they’re pretty forgiving in terms of only locking you out of key decisions at the very end of the game, some are a little more complicated than others. To help you out, here’s a guide on how to get all the endings in this shinobi adventure, so you can pick the best ending to cap off your time.
Oh, and naturally, this contains massive spoilers, so turn away now if you’re worried about that sort of thing.
Shura ending
This is by far the easiest to get, but it’s also definitely the “worst” ending. Simply carve a swath through the game until it prompts you to go to the rooftop arena the second time. There, Owl will ask you to obey the Iron Code and forsake your master Kuro. If you decide to go along with the Code, you’ll fight two bosses exclusive to this path. Once you beat them both, you’ll achieve this ending. This path cuts out a significant portion of the game, so it’s not recommended for a first playthrough.
Immortal Severance ending
You might consider this the “default” ending to the game. When Owl asks you to make your choice, decide to stay with Kuro and defeat Owl. After that, simply do what Kuro says until you fight the final boss in the Silvergrass Field outside of Ashina. Assuming you didn’t complete any of the sidequests that give you the other endings, you’ll achieve this end.
Purification ending
This one requires a little more work than the first two, and it also includes an exclusive boss fight that unlocks an achievement. When Owl asks you to make your choice, stay with Kuro and defeat him. Go and visit Isshin in his watchtower, and eavesdrop on he and Emma’s conversation.
From there, visit Kuro and talk to him until he starts repeating himself, then eavesdrop on him behind a corner of the room. (This was a little buggy for me across a couple of playthroughs, so you might have to rest or leave and come back until it triggers.) After that, talk to Emma and agree with her decision, then rest and talk to her again.
Go to the Old Grave (near where you met the vendor with the big hat), and talk to her there. Then warp to the Dilapidated Temple and eavesdrop on her conversation with the Sculptor through a hole in the back. Talk to her again, and she’ll give you a bell that unlocks a harder version of the Hirata Estate when you pray at the Buddha in the temple. Defeat the two minibosses here – use the puppet ability to even the odds on the Drunkard if you need assistance – and head down to where you fought Lady Butterfly.
You’ll have to defeat Owl again, only he’s a lot tougher this time. Deflect his combos, keep the pressure on him, slice him when he attempts his perilous attacks in range, and watch the swooping owl’s location in the second phase, and you’ll eventually come out on top. After that, simply progress through the game normally until you fight the final boss in the Silvergrass Field. Once you do that, you’ll get this ending.
Return ending
This is arguably the “best” ending, but it requires even more steps than Purification, so buckle in.
Before we start, it’s worth noting that a lot of people have reported issues getting various parts of this chain to progress, so we recommend backing up your save if necessary. (On Windows 10, it’s in your AppData folder, under Sekiro. Type %Appdata% in your Explorer bar to get there easily.)
Additionally, once you retrieve the Dragon Tears by defeating the Divine Dragon in the Fountainhead Palace, you’ll likely be locked out of this questline, so do it beforehand.
First, you need to have the ability to dive underwater, which you get by defeating the Corrupted Monk in Mibu Village, in Ashina Depths. Go to the Temple Grounds idol at the Senpou Temple and dive into the pond immediately in front of you. You’ll find a Prayer Bead, but more importantly, you’ll find a scroll called Holy Chapter: Infested. If it isn’t there, it’s possible that you received it earlier from the master of Senpou Temple and already gifted it to the Divine Child.
For the next step, you want to talk to the Divine Child in the Inner Sanctum. (For each of these steps, if the next one doesn’t trigger, you may have to rest or leave and come back for it to work.) Give her the scroll you found. When she gives you rice, eat it. Rest and ask for more until she gives it to you.

Do this as many times as it takes, and she’ll eventually ask you for a persimmon. The easiest place to get a persimmon is from the Memorial Mob next to the Shugendo Shrine in Senpou Temple – it only costs 30 Sen. Give one to her, and she’ll give you more rice. Talk to her again, and she’ll give you Rice for Kuro. Feed that to Kuro, and he’ll give you Sticky Rice Balls. Go back to the Divine Child and talk to her about Kuro, and then leave. When you come back, she should be gone from the Inner Sanctum.
Check the Hall of Illusion where you fought those damn annoying monkeys, and you’ll find her straight ahead, in front of the Great Tree. She’ll tell you to find the master of the temple. Go to the Voldo-infested cave to the left of where you rang the bell to get into the Hall of Illusion originally and wander around until you find a dead body with another scroll on it. Bring it to the Divine Child, and she’ll tell you that she needs two fruits of the Great Serpent in order to progress. Now, you can probably figure out what to do from here, especially if you talked to the two old women at Senpou Temple and the Ashina Castle Gate, but if you’re still stuck, here’s what to do.
To get the fresh fruit, go to one of the early Senpou Temple idols and look down for one of the Raiden-hat assassins in front of a kite mechanism. Use the puppet ninjutsu backstab deathblow technique on him, and he’ll automatically pull the kite out. Past the first few waves of monks, climb onto the massive Shenmue-esque tree and grapple onto the kite. Follow that path until you find a lone plank standing out on the misty moor. Look down, and you’ll see the asshole snake that’s been hunting you the whole game. Jump down and deathblow him to get an achievement and the fresh fruit.
To get the dried fruit, go to Bodhisattva Valley in the Sunken Valley. Instead of heading forward to where you fought the Guardian Ape, turn around and follow the poison river until you get to one of the tent vendors. Past him, you’ll find a cave patrolled by another giant serpent. Sneak around and forward dodging geckos and spectral wall-ghosts until you find a section where you can hide behind a wall. Go down and left. You’ll get to a part where you see a monkey and a grapple point. You can use your puppet technique on the monkey to get it to dance and distract the serpent, or simply utilise the Mist Raven tool to dodge his initial strike. Run into the temple and grab the dried fruit.

Go back to the Inner Sanctum and give the two fruits to the Divine Child. Rest once and check on her beyond the closed door, then rest again. You should be able to talk to her. (If resting or leaving and coming back won’t let you in, you might need to defeat a boss and check back.) Accept the Frozen Tears. Now, simply progress through the game until you fight the final boss in the Silvergrass Field. Choose to give Kuro the Frozen Tears and the Dragon Tears, and you’ll achieve this ending.
Secret boss
A quick note here: there’s a secret boss right before the final one that some people might miss, so here’s a quick guide on how to get to him. Again, major spoilers for all endings other than Shura. After you get the Dragon Tears, head back to the Castle. Check around the roof until you see a shinobi kite, and grapple it to get back to the Outskirts.
This area is patrolled by countless high-level enemies, so we recommend just running past them. Follow the path, and you’ll eventually see a Sculptor’s Idol in the flames. Interact with it, and you’ll be warped to the battlefield where you fought Gyoubu. You’ll know the boss when you see it. For our money, this is the hardest boss in the game, so good luck! Quick hint: you should be holding the sprint button the entire fight.
For more help on your way to seeing these endings, take a look at the rest of our Sekiro guides.
Sekiro: Shadows Die Twice guides
- Sekiro: Shadows Die Twice walkthroughs
- Sekiro: Shadows Die Twice walkthrough Part 1 – Yamauchi, General Naomori Kawarada
- Sekiro: Shadows Die Twice walkthrough Part 2 – Chained Ogre
- Sekiro: Shadows Die Twice walkthrough Part 3 – Find the Flame vent, Shinobi Axe and fight General Tenzen Yamauchi
- Sekiro: Shadows Die Twice walkthrough Part 4 – Find the Shinobi Firecracker and fight the horse-rider
- Sekiro: Shadows Die Twice Part 5 – How to reach Ashina Castle
- Sekiro: Shadows Die Twice Part 6 – finishing the Hirata Estate
- Sekiro: Shadows Die Twice Part 7 – Ashina Reservoir
- Sekiro: Shadows Die Twice part 8 – Senpou Temple, Long-Armed Centipede Sen’un
- Sekiro: Shadows Die Twice Walkthrough Part 9 – Ashina Castle Upper Tower
- Sekiro: Shadows Die Twice – Where to find Lord Isshin
- Sekiro: Shadows Die Twice Part 11 – Ashina Depths and Hidden Forest
- Sekiro: Shadows Die Twice Part 12 – Mibu Village, Corrupted Monk Spirit, Screen Monkeys
- Sekrio: Shadows Die Twice – best ending guide
- Sekiro: Shadows Die Twice skills and combat
- Sekiro: Shadows Die Twice – top combat tips
- Sekiro: Shadows Die Twice – best skills
- Sekiro: Shadows Die Twice – Boss guide
- Sekiro: Shadows Die Twice crafting and items
- Sekiro: Shadows Die Twice – how to remove Rot Essence and cure the Dragonrot
- Sekiro: Shadows Die Twice – crafting and upgrade materials guide
- Sekiro: Shadows Die Twice – Gourd Seeds and Prayer Beads locations
- Sekiro: Shadows Die Twice – Treasure Carp Scales Guide
- Sekiro: Shadows Die Twice – Mask Fragment Guide
- Sekiro: Shadows Die Twice – where to find more Divine Confetti and Snapseeds
The post Sekiro Best Ending Guide: How to unlock the Shura, Immortal Severance, Purification, and Return endings appeared first on VG247.
Source : vg247.com
